
Install and First Launch
Install Agent Session Manager and complete the first-launch setup wizard.
What it is
The first-launch setup wizard helps Agent Session Manager prepare the shell and agent tools you want to use. It appears once, and you can change these choices later in Settings.
Before you start
- Use a Mac running macOS 14 or later.
- Download the latest DMG from Download.
- Have at least one supported agent tool installed if you want to create an agent pane immediately.
How to install it
- Open the downloaded DMG.
- Drag Agent Session Manager to
/Applications. - Open Agent Session Manager from Applications.
How to complete first launch
- On the welcome screen, choose Set Up. Choose Skip if you want to keep the defaults and configure the app later.
- On Shell, keep Auto-detect or choose a shell. Select Other… if you need to enter a custom shell path, then choose Continue.
- On Harnesses, review the tools detected in your shell. Select the tools you want to use, then choose Continue.
- On Status Line, choose which information should appear at the bottom of each pane. Choose Save to keep it or Skip to turn it off for now.
- On CLI Flags, choose the options that should be available when creating a pane. Choose Save to keep them or Skip to leave the recommendations unchanged.
- On Profiles, optionally create a reusable set of tool options, then choose Finish.
What you should see
The wizard closes and the main window appears. If you have not created a tab yet, the empty state tells you to press ⌘T.
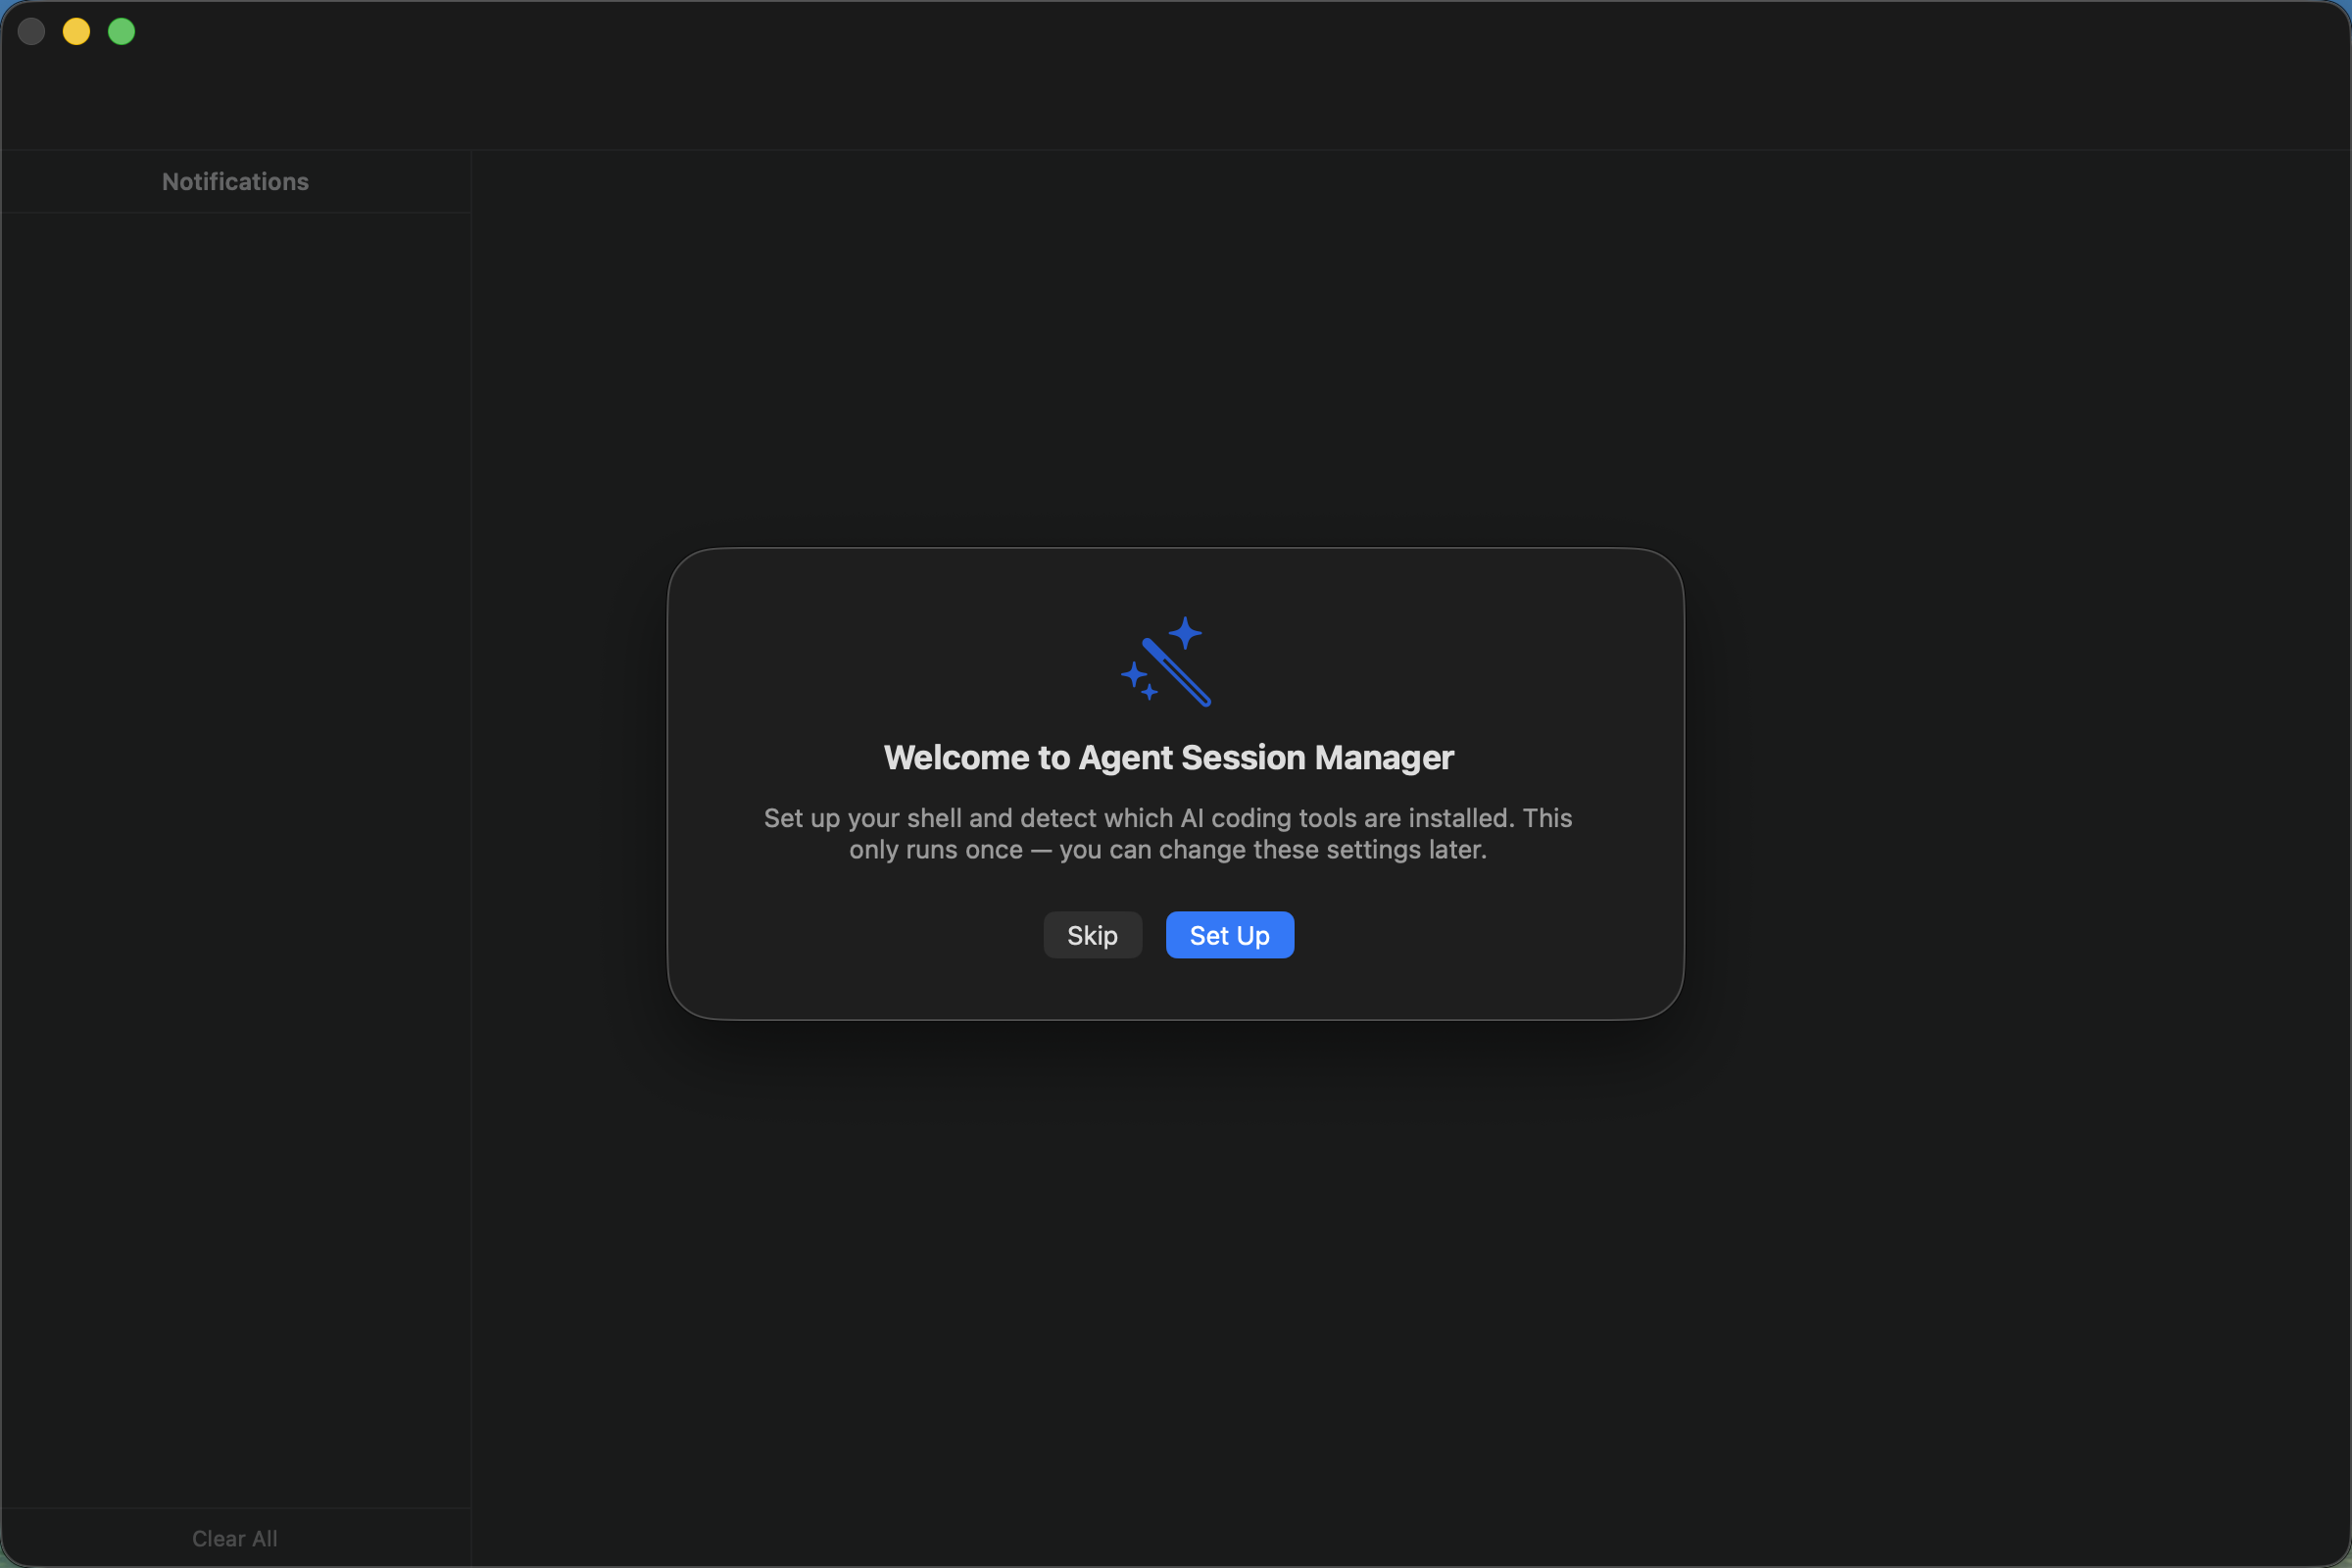
Choose Set Up to walk through the first-launch choices.
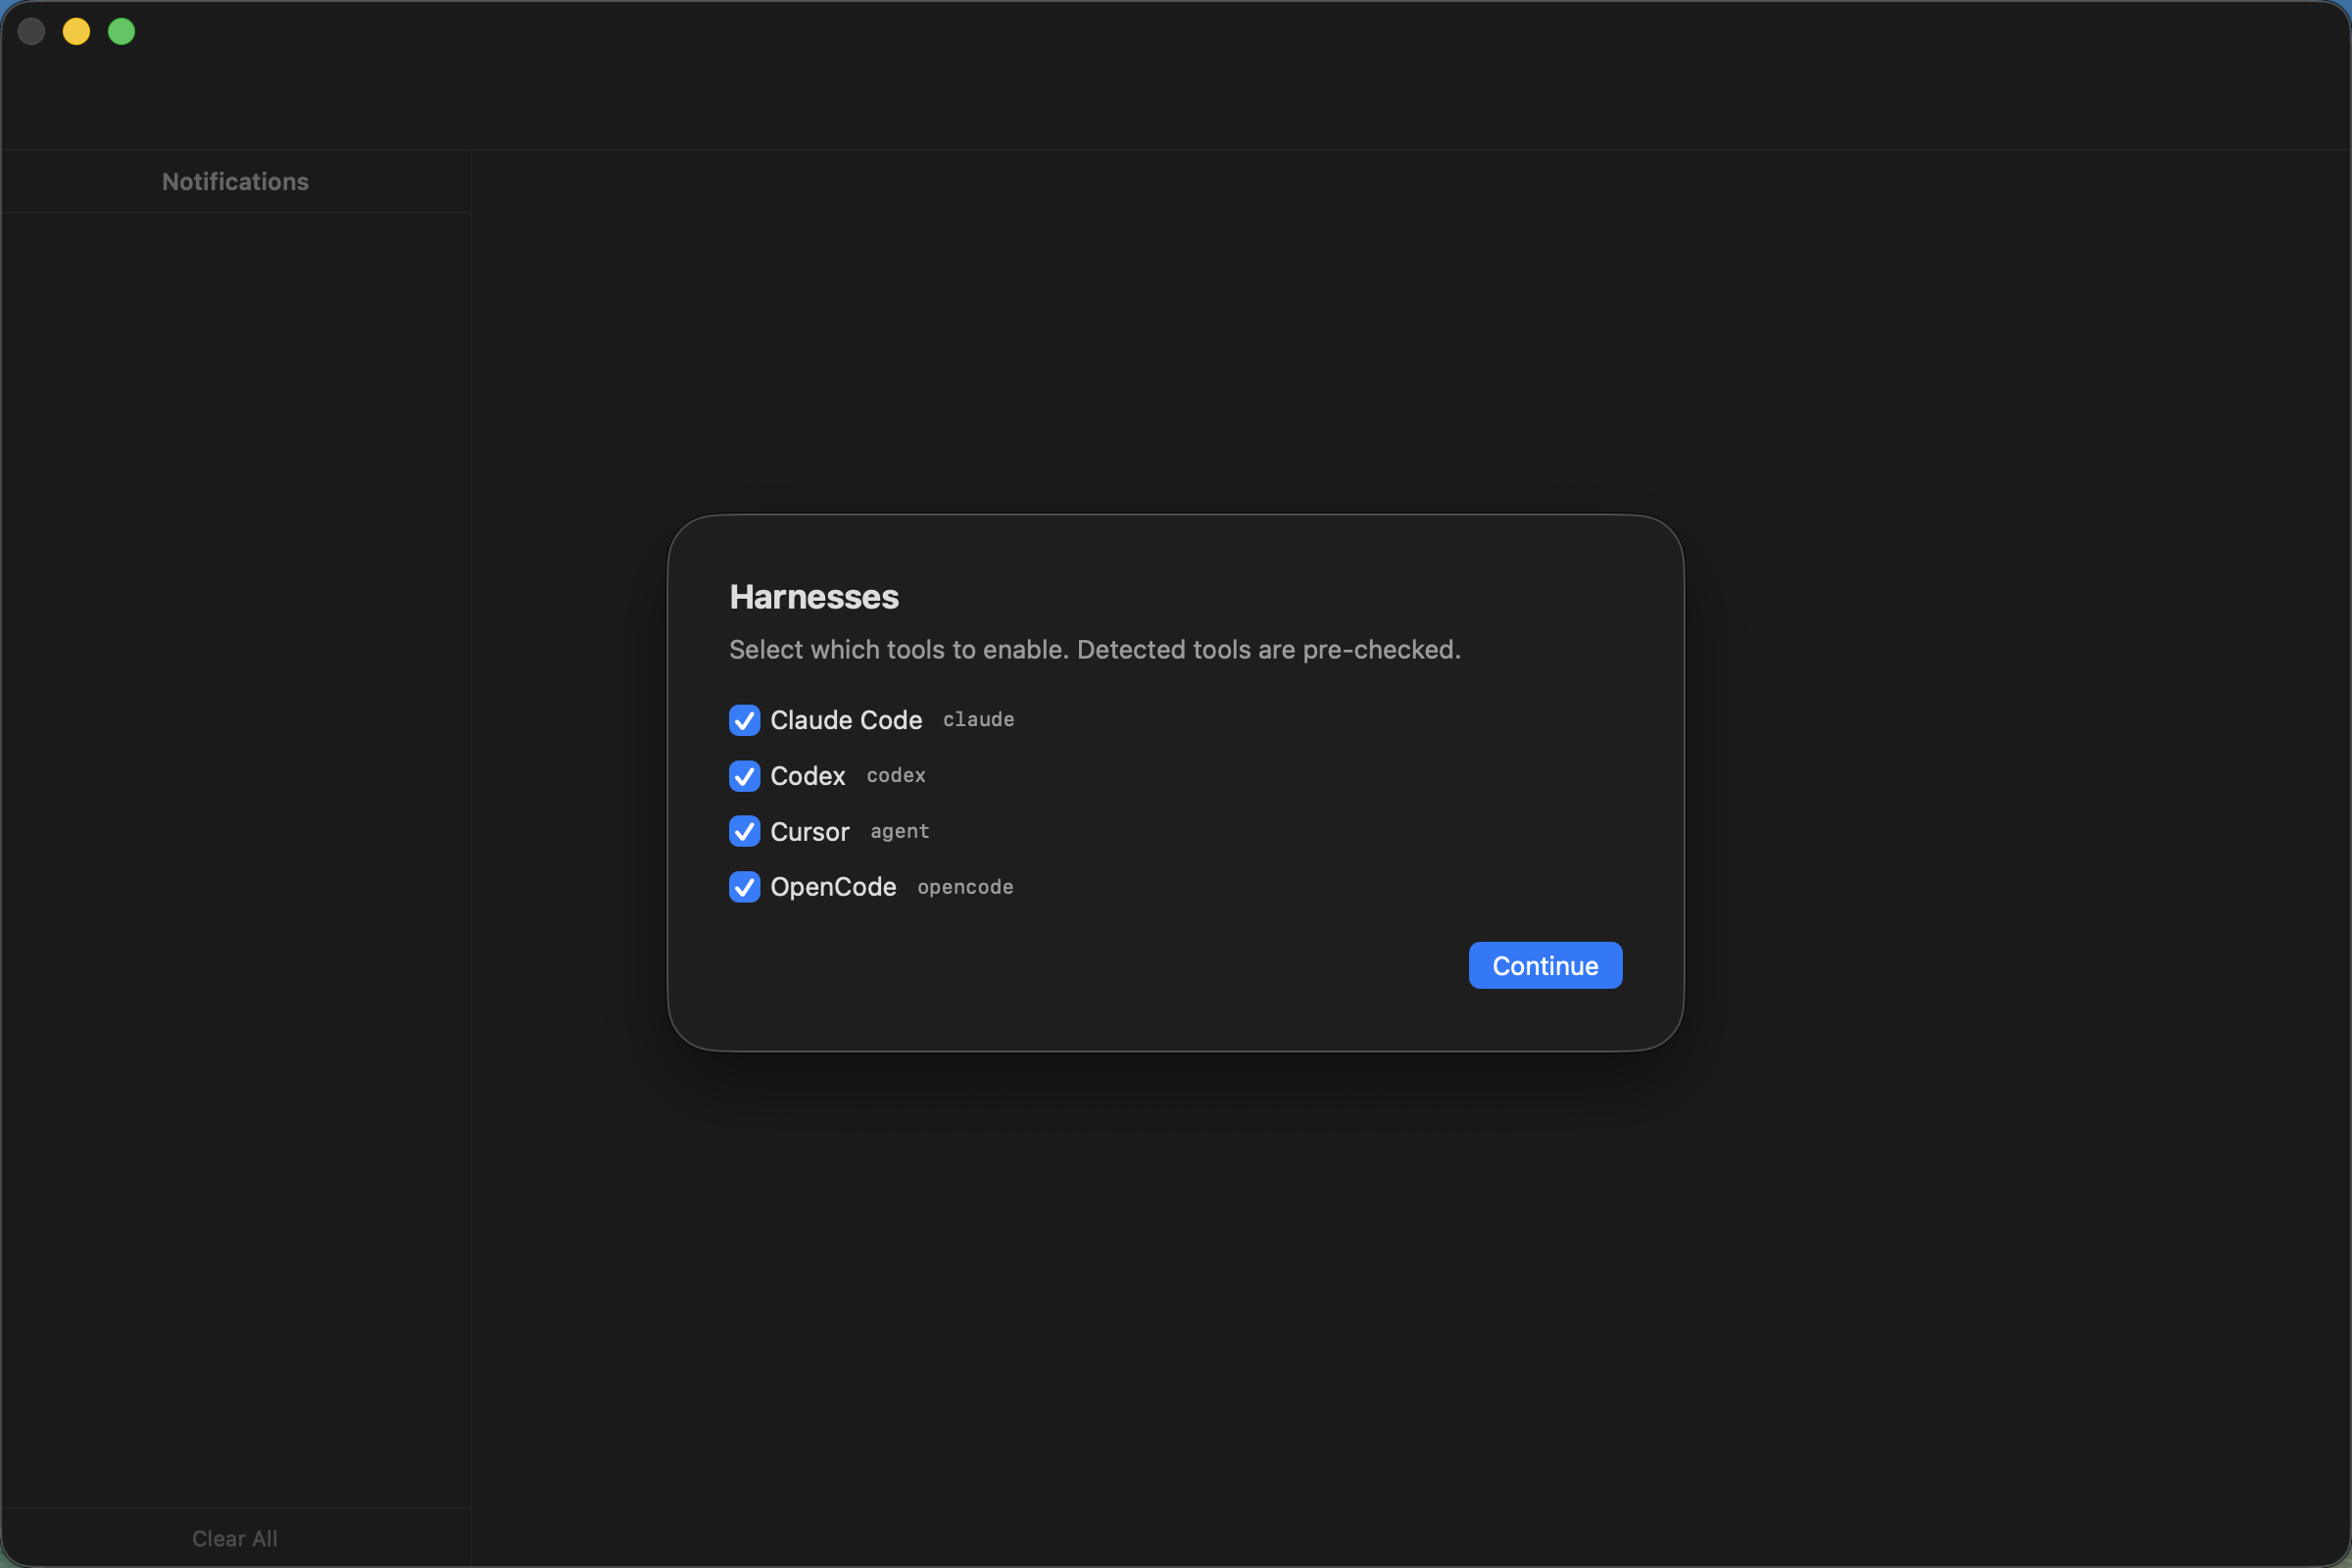
Select the tools you want available when creating panes.
If it does not work
If the wizard does not detect a tool, confirm that the tool is installed and available from the selected shell. You can also enable tools later in Settings → Harnesses.